When a fibreglass (GRP) boat is manufactured it is usually supplied with a highly polished hull which looks great. After a few years, even if you have cared for it lovingly, the sun and salt will dull that shine. On coloured hulls this looks even worse, but it is actually very easy to fix. All you need is a dry day, the right equipment and the time to do it. Here’s how.
| It is much easier to do this when your boat is out of the water - I do the hull when the boat is lifted for the annual antifouling. It usually looks like this - white, but not very shiny! | 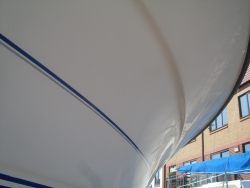 |
| First, collect all the things you need. Most important: a power polisher, of the sort that looks like an angle grinder. Don't actually use an angle grinder, these are too fast. Don't use those cheap car polishers either, they aren't worth it. You will also need a water spray bottle, rags, Farecla paste and a good marine polish. You can get different grades of paste, I use G6 for heavily oxidised areas (i.e. very dull) and G10 for a final rub over. Alternatively you can use Farecla Profile 300 which is a one step process. You also need a tin of polish to seal the surface. If marine polish is too expensive you can use car polish. | 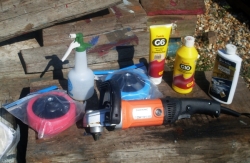 |
| Now clean the fibreglass so there is no dirt or grit to cause scratches. Then select the correct sponge head for your polisher. They come in different colours depending on hardness. Pink is girly soft, blue is harder like a boy and white is very hard. Easy to remember. G6 paste needs the blue sponge head. Polishing with paste needs water - not too much or you will electrocute yourself. Dampen the sponge with water, and use the spray bottle to keep the fibreglass moist. | 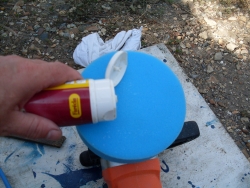 |
| Dab some paste on the fibreglass, spread it around with the sponge then switch the polisher on. If you are doing it right it should polish the fibreglass and create a healthy splatter about the place. If it dries up you could create a burn. Be careful around projecting fittings, you don't want to rip up the sponge. The sponge can go around curves so you can polish most areas with the power polisher. Any hard-to-access areas can be done by hand. Next rinse off the residue - the milky water shows you have removed a thin layer of gel coat. Ideally, you should repeat this process with the G10 liquid and the pink sponge to create the very smooth surface on which to apply the polish. | 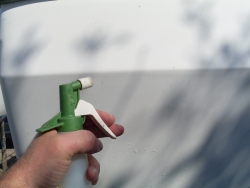 |
| When the hull is rinsed and dry you can add the polish. Follow the instructions on the tin - most say rub the polish onto an area about a metre square, allow to dry to a haze the polish off with a soft cloth. The result will be amazing, but you are not done yet. For best results you need to repeat this with a second layer of polish | 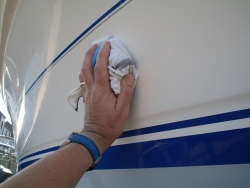 |
| So here is the result, a mirror finish to be proud of. This will repel dirt and make it much easier to wash down after a trip. It is no bad thing to do another polish mid-season to keep the shine. This hull is 17 years old, and still comes up well with a little effort. For more information on Farecla products there is a good web site with useful techical information and guides at www.farecla.com | 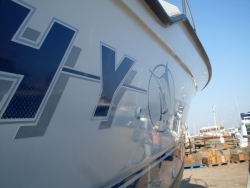 |