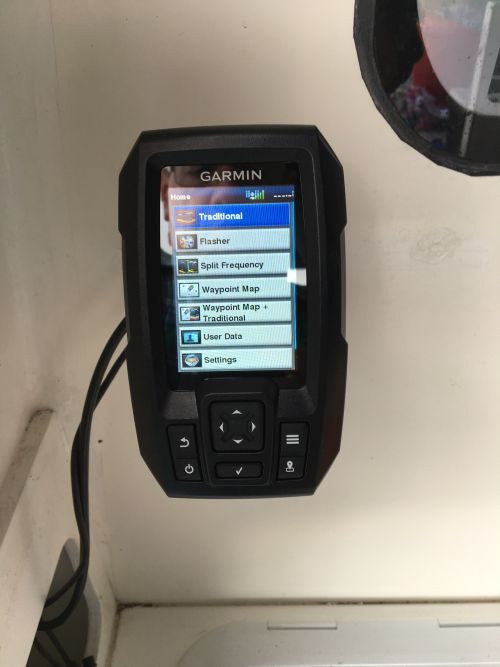
OK I admit it, I probably have too many fishfinders but I wanted a screen in the cockpit for when I was drifting and couldn’t see the screens by the wheel. It was a LOT more expensive to buy a slave MFD screen for the NMEA2000 network so I opted for a standalone, low-cost fishfinder which meant I had yet another transducer to mount. I already have one transom mount and one through-hull, so I thought why not complete the set and have an in-hull mount. I have had one before with the purpose-designed Airmar P-79 tranducer mounting and that worked fine, except I wasn’t going to buy a different transducer this time. The one in the fishfinder box was a simple transom mount and these units work perfectly well mounted inside the hull unless you have something fancy like Structure Scan or Side Scan.
In my book “Angling Boats”, and on the Boat DIY page, I describe how you can stick the transom mount transducer to the hull. This method works for fairly flat hull sections but it is rather permanent and has no room for adjustment. Inspired by the new foam mounts available for kayaks, I used the same design principles but beefed up for the rigours of boat bilges.
Concept:
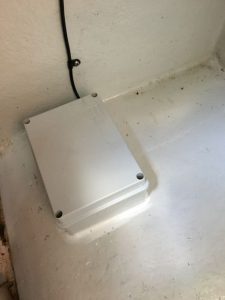
The idea is to use a protective box stuck to the inside of the hull, and mount the transducer inside the box. No need to find a near-horizontal mounting point because this is the new and clever bit – mount the transducer in foam! A breeze to install and easily adjustable.
Materials:
- Outdoor domestic electrical junction box
- Waterproof cable gland if the box didn’t come with one
- Piece of upholstery or packing foam the size of the inside of the box
- Sealant/adhesive such as Sikaflex 291i or Evo-stik Sticks Like Sh*t
- Antifreeze (optional)
Method:
- Buy your junction box at an electrical suppliers. The inside dimension needs to hold the tranducer but not any mounts, so a standard size is probably fine. Get a waterproof cable gland to fit, an exterior plastic one is fine here, no need for a fancy marine gland.
- Decide where you want to mount the transducer. On the outside of the hull there must be clean water flow with no bubbles or turbulance, and inside the hull it needs to be somewhere accessible but not in the way. You can check the best location with the test method described here. Do this under way, because any areas in turbulence won’t show up until you are moving.
- Now cut a big hole in the base of the box. The best way us to cut out the entire bottom face leaving a flange around the edge of about 5-10mm. This flange is important, it is used to make a good bond with the hull face.
- Drill a hole in the box where you want to install the gland, and screw it in.
- Degrease the area of the hull where you want to install the box.
- Glue the box to the hull with a generous quantity of adhesive sealant applied to the flange, and press to the hull making sure plenty squidges out. Tidy it up leaving a fillet of sealant all round. Leave it to set.
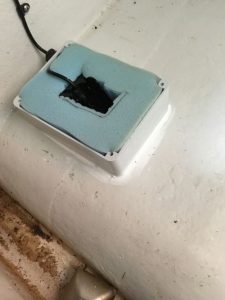 Cut your foam to shape so it fits snugly in the box.
- Cut a slit in the foam or cut a shape in the foam slightly smaller than the transducer.
- Feed the transducer cable through the gland from the inside.
- Put the foam in the box.
- Fit the transducer in the foam and adjust it so it sits horizontal to the water level. The foam will grip it in place.
- Tighten up the cable gland.
- Important – you need the transducer face to be in liquid to transmit signals to the hull, through it and through the water outside. This is why you needed the good seal from the box to the hull because you now need to full the box with liquid. There is so much foam in the box you won’t need much liquid. Some people use cooking oil, some use plain water, some use water with car antifreeze added. In UK waters your bilge will never freeze when afloat but when ashore it might freeze in winter, so antifreeze is worth adding.
- Screw on the lid, and job done!
- Watch for leaks, and test when under way. If you have followed these instructions it should be problem-free.
That’s all there is to it. Easy to maintain, easy to swap transducers, easy to check and adjust and the transducer is well protected from stuff that gets chucked into the bilge area!